How to DIY your own coloring pages using Procreate Stamp Brushes
Sometimes we all need a moment to unwind. After the kids go to bed, I usually make a cup of tea and settle down with something relaxing. Coloring is one way to let my mind pause and simply enjoy the movement of coloring. It’s meditative, fun, and easy to get lost in. The best part? You can make your own custom coloring pages in just a few simple steps! Let me show you how.
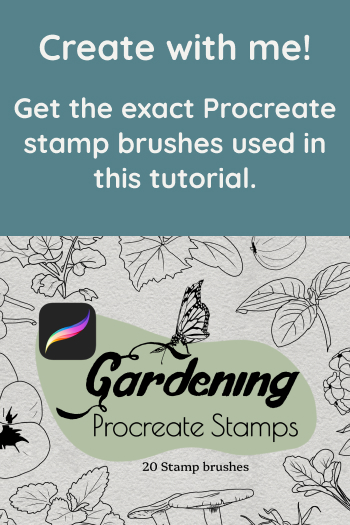
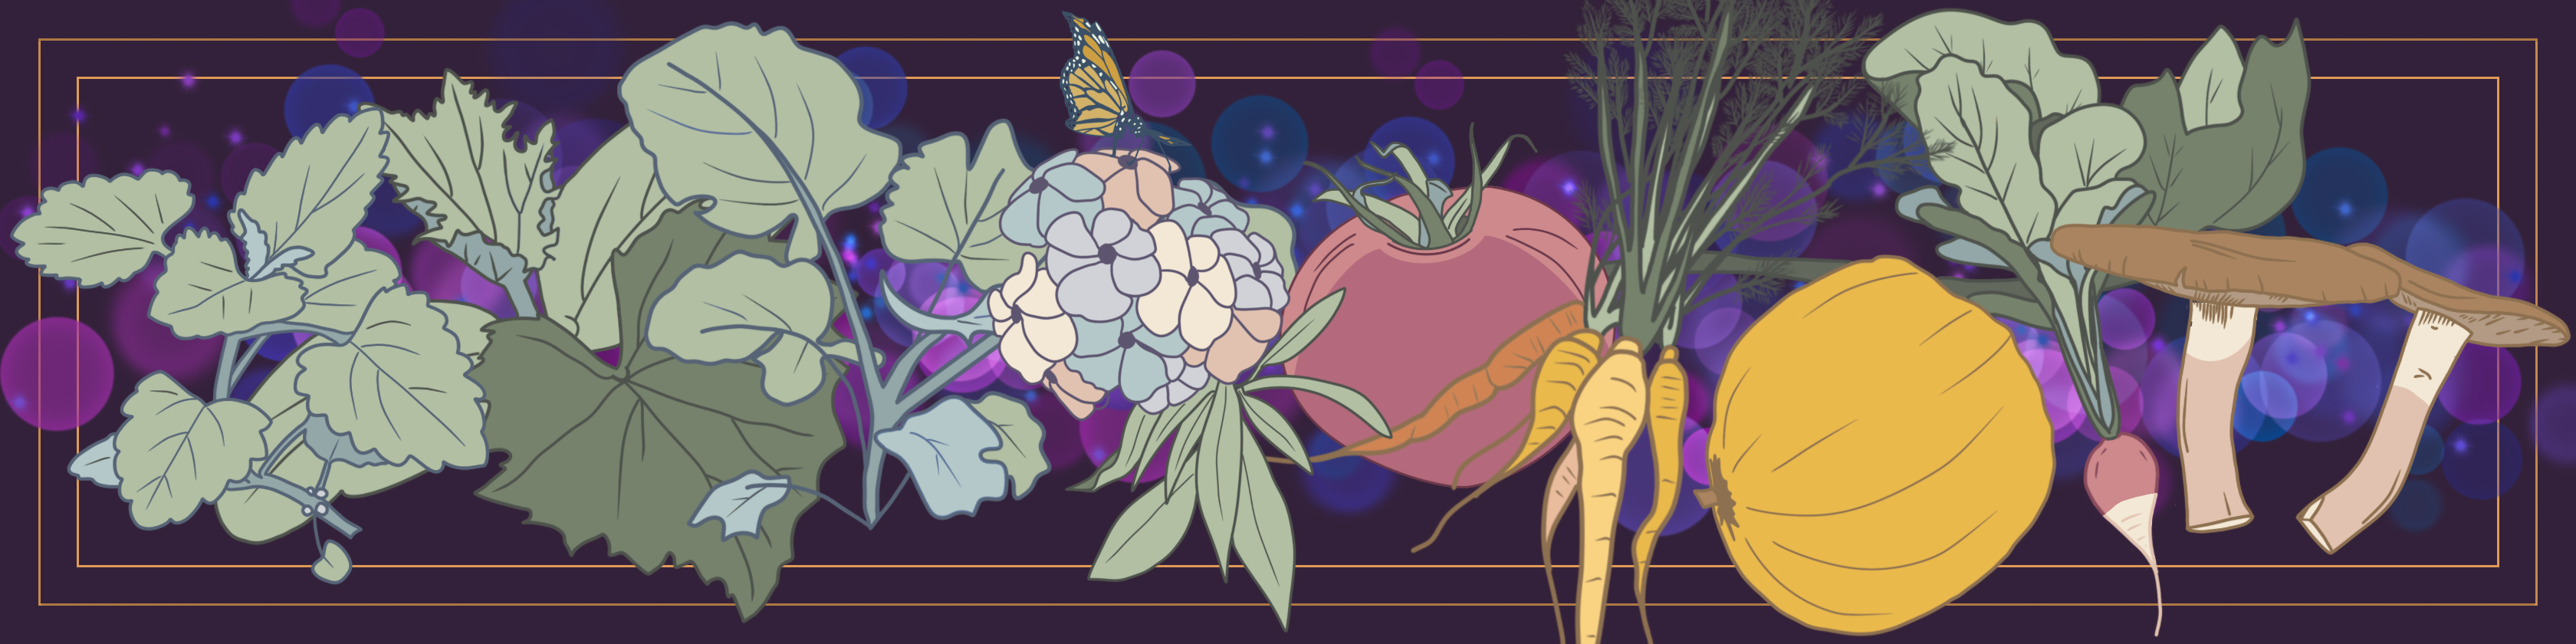
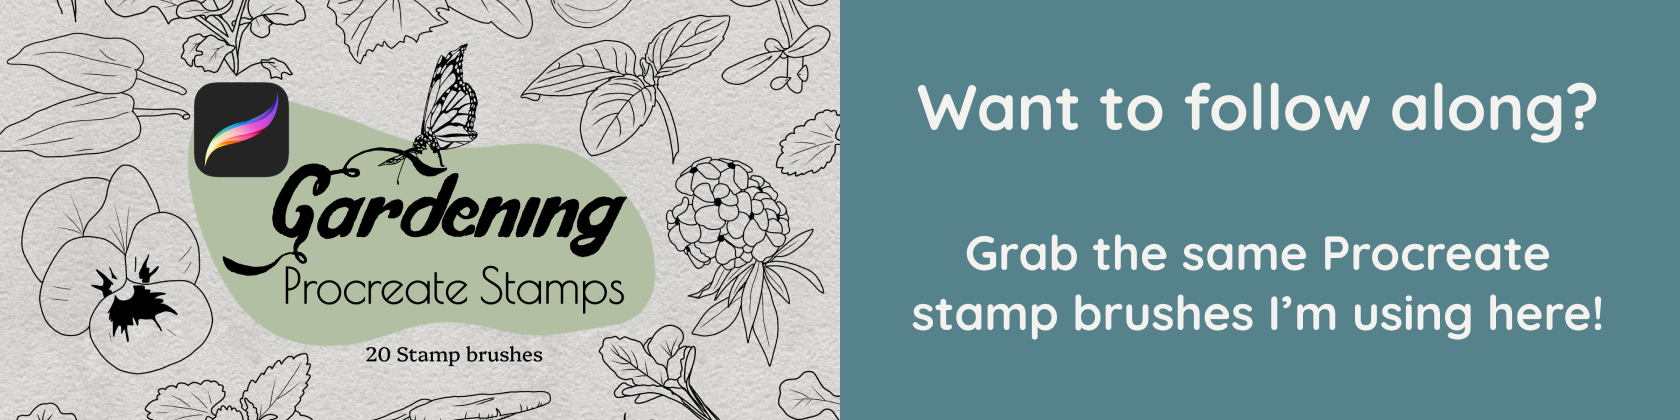
To begin, I recommend using Procreate, a powerful and user-friendly app for digital drawing. While Procreate is a paid app, there are other free drawing programs available if you’re not ready to spend the extra money. For this tutorial, however, we’ll stick with Procreate. I’ll also be using my Gardening Procreate Stamp Brushes, which are available in my shop. These brushes are specifically designed for Procreate, so keep in mind they won’t work with other apps or programs. If you don’t have this brush set, any other Procreate stamp brushes will work just fine!
Installing Your Brushes
Before we start, you’ll need to install your brushes:
● Download the file with your Procreate brushes.
● Tap on the file, and Procreate will automatically install them for you.
That’s it for the prep work! Now let’s dive into creating your coloring page.
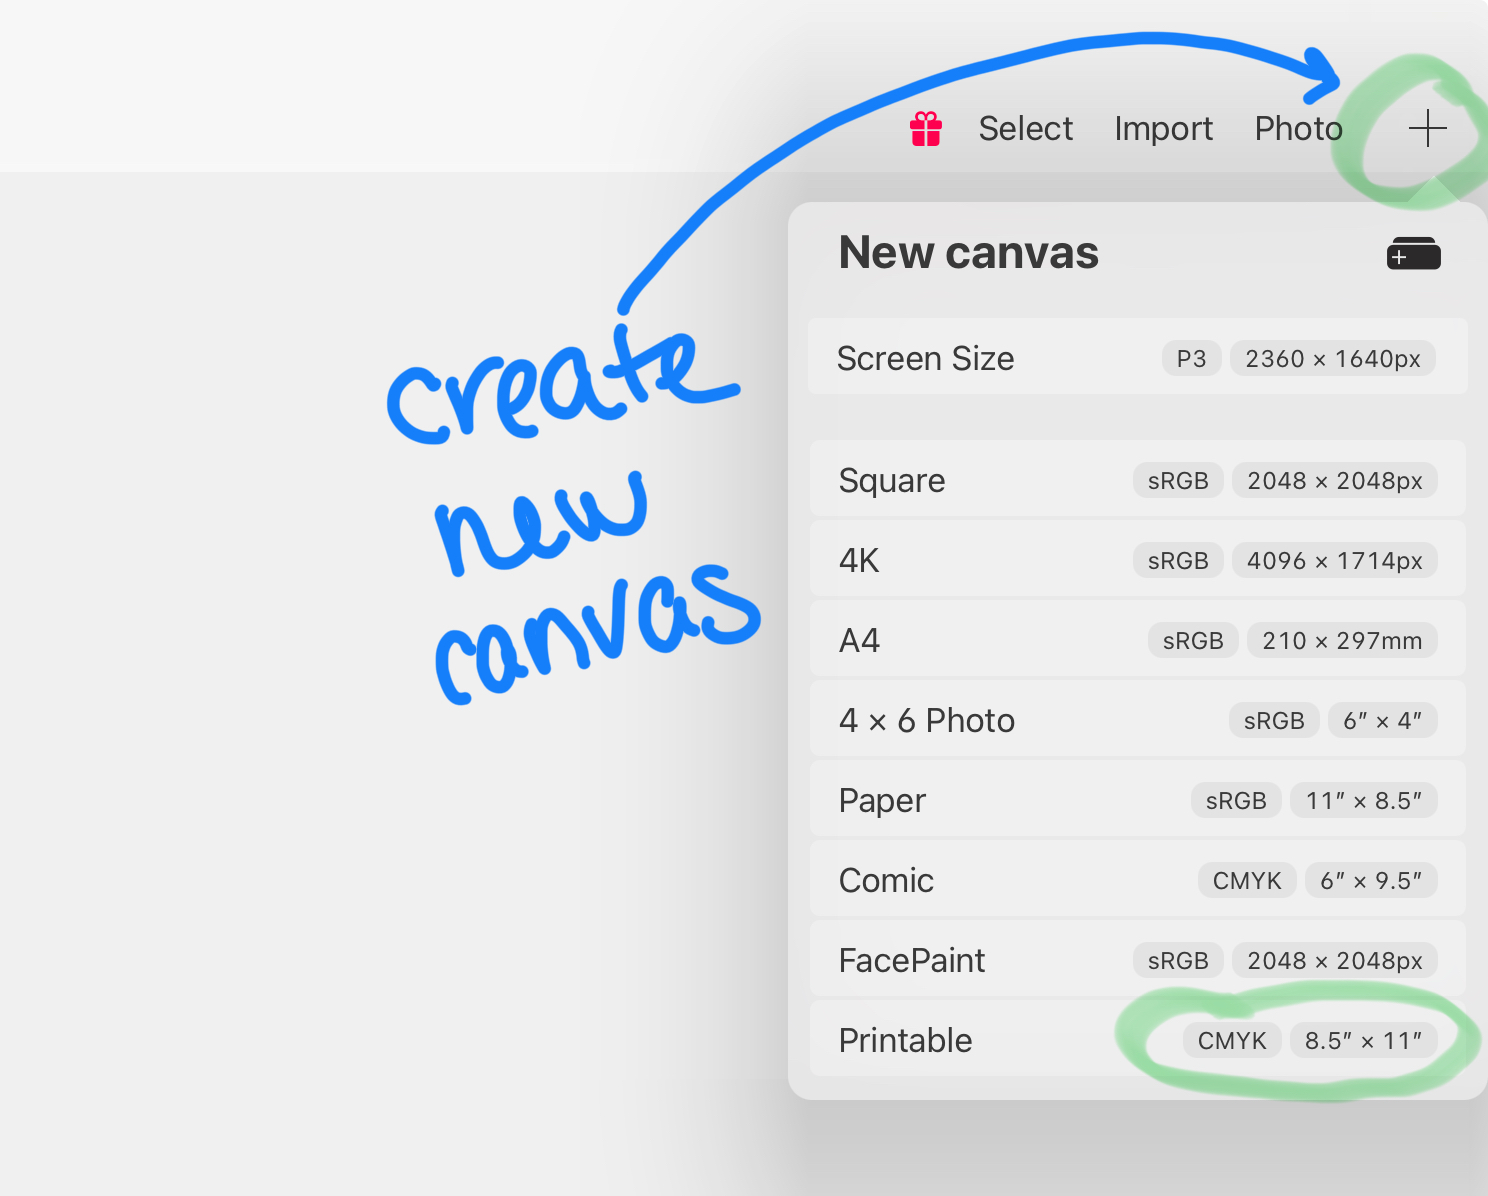
Step 1: Set Up Your Canvas
● Open Procreate and create a new file.
● Select the Letter Size preset so you can easily print your coloring page later.
● Choose CMYK Color Mode if you’re planning to print your page, but don’t stress too much about this—the final product will be in black and white, so your choice of color mode won’t affect the lines.
Step 2: Add Your Stamps
Now comes the fun part:
● Tap the Brush icon and navigate to the Gardening Stamp Brush set (or any other brush set you’re using).
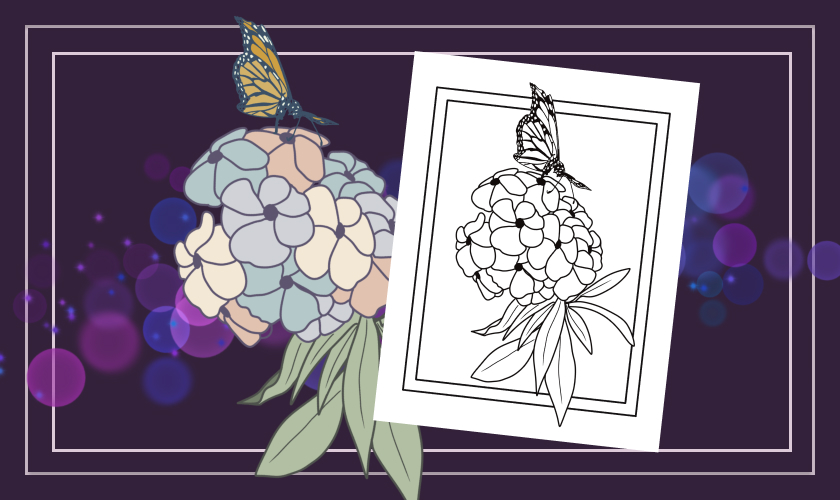
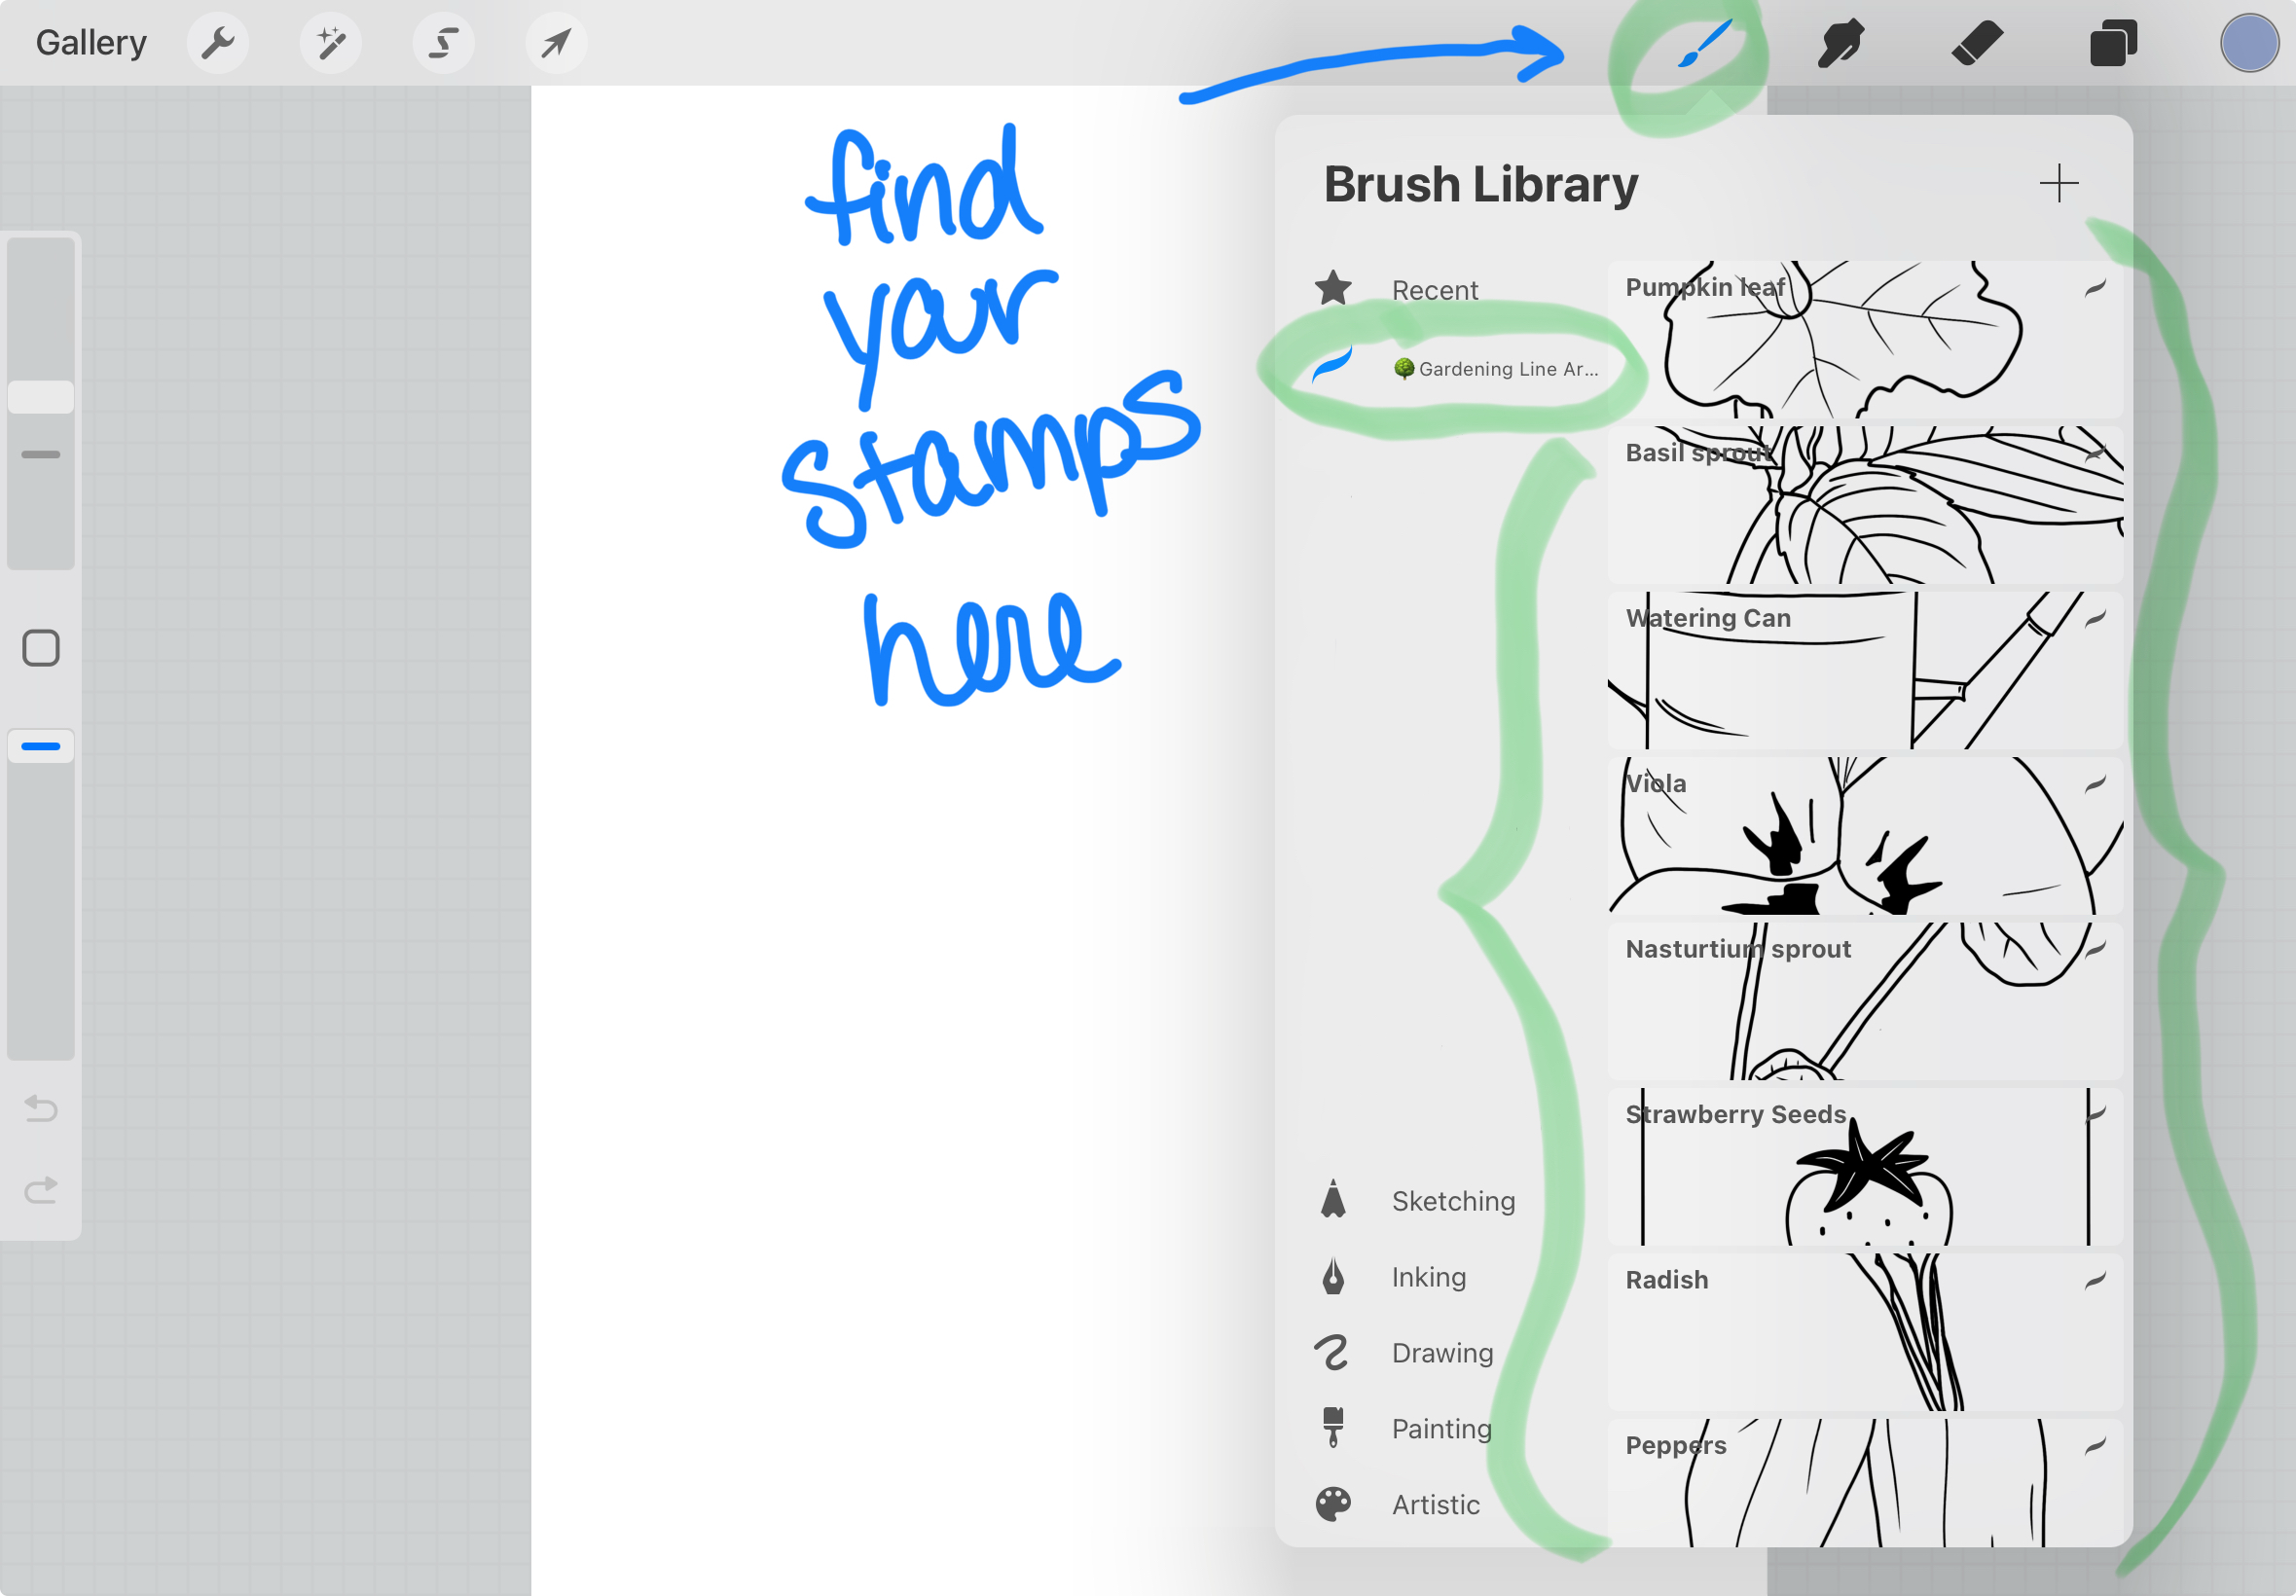 ● Select your favorite stamps and simply tap on the canvas to place them, just like you would with a real-life rubber stamp.
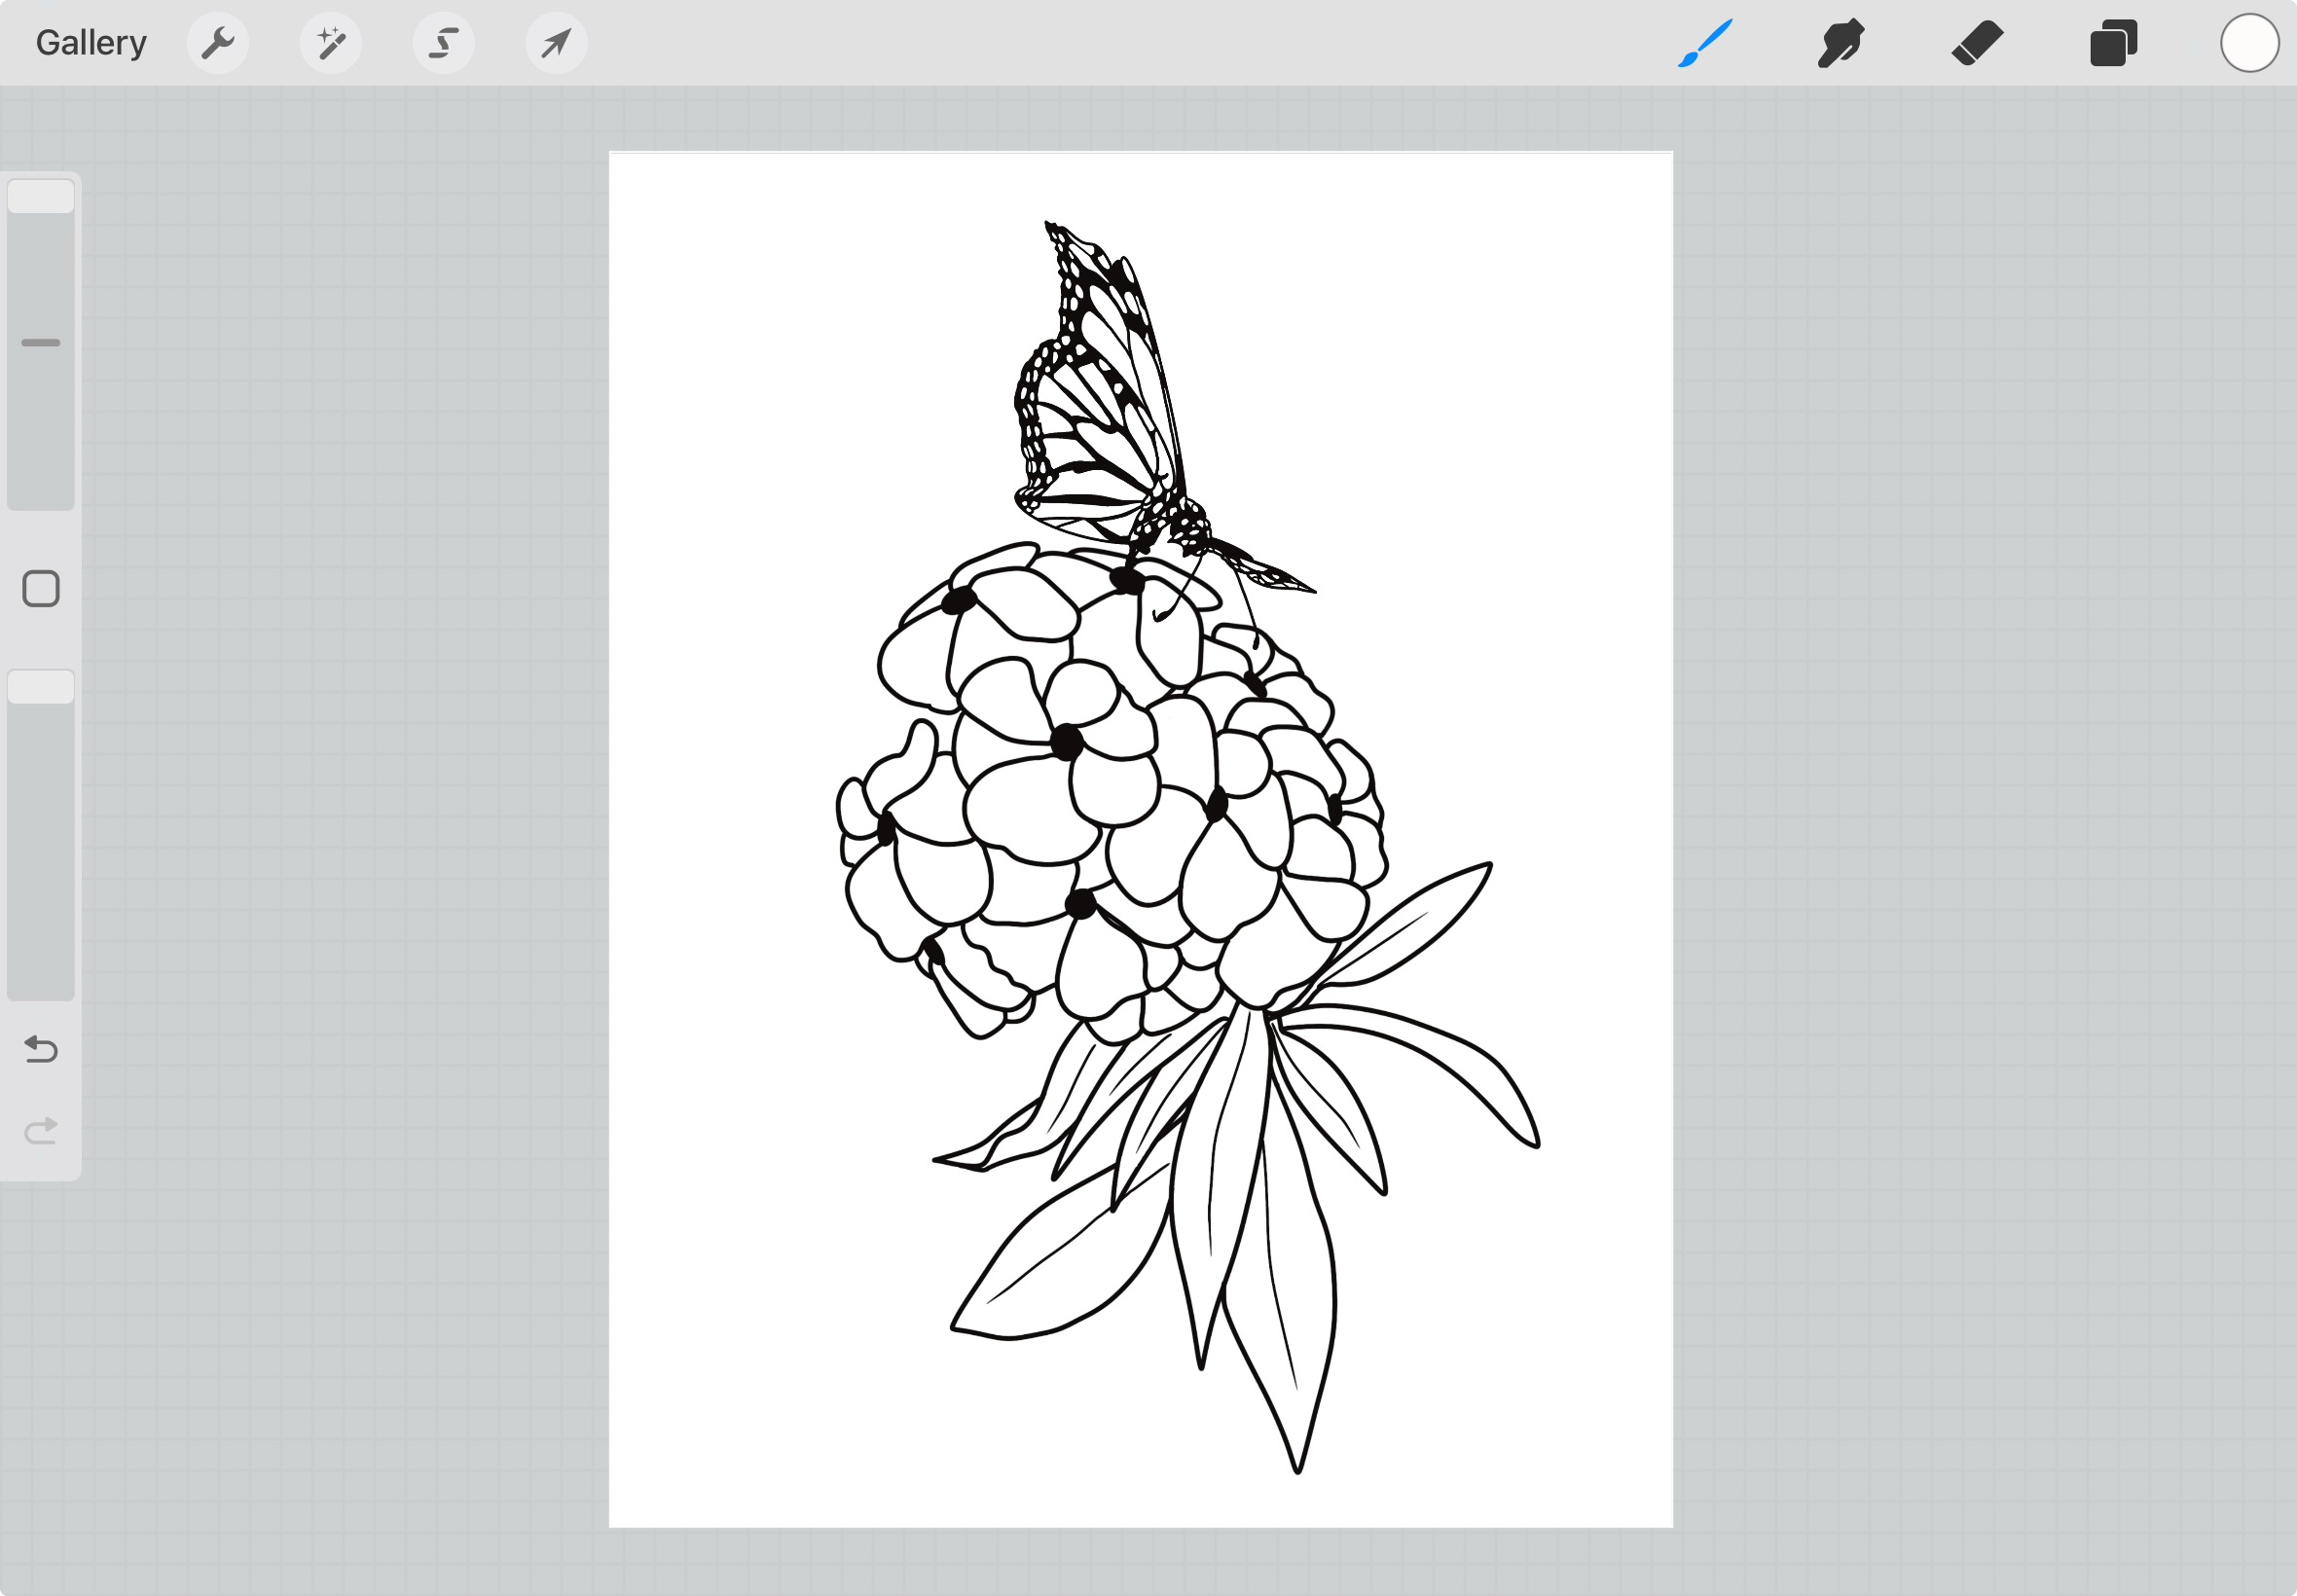
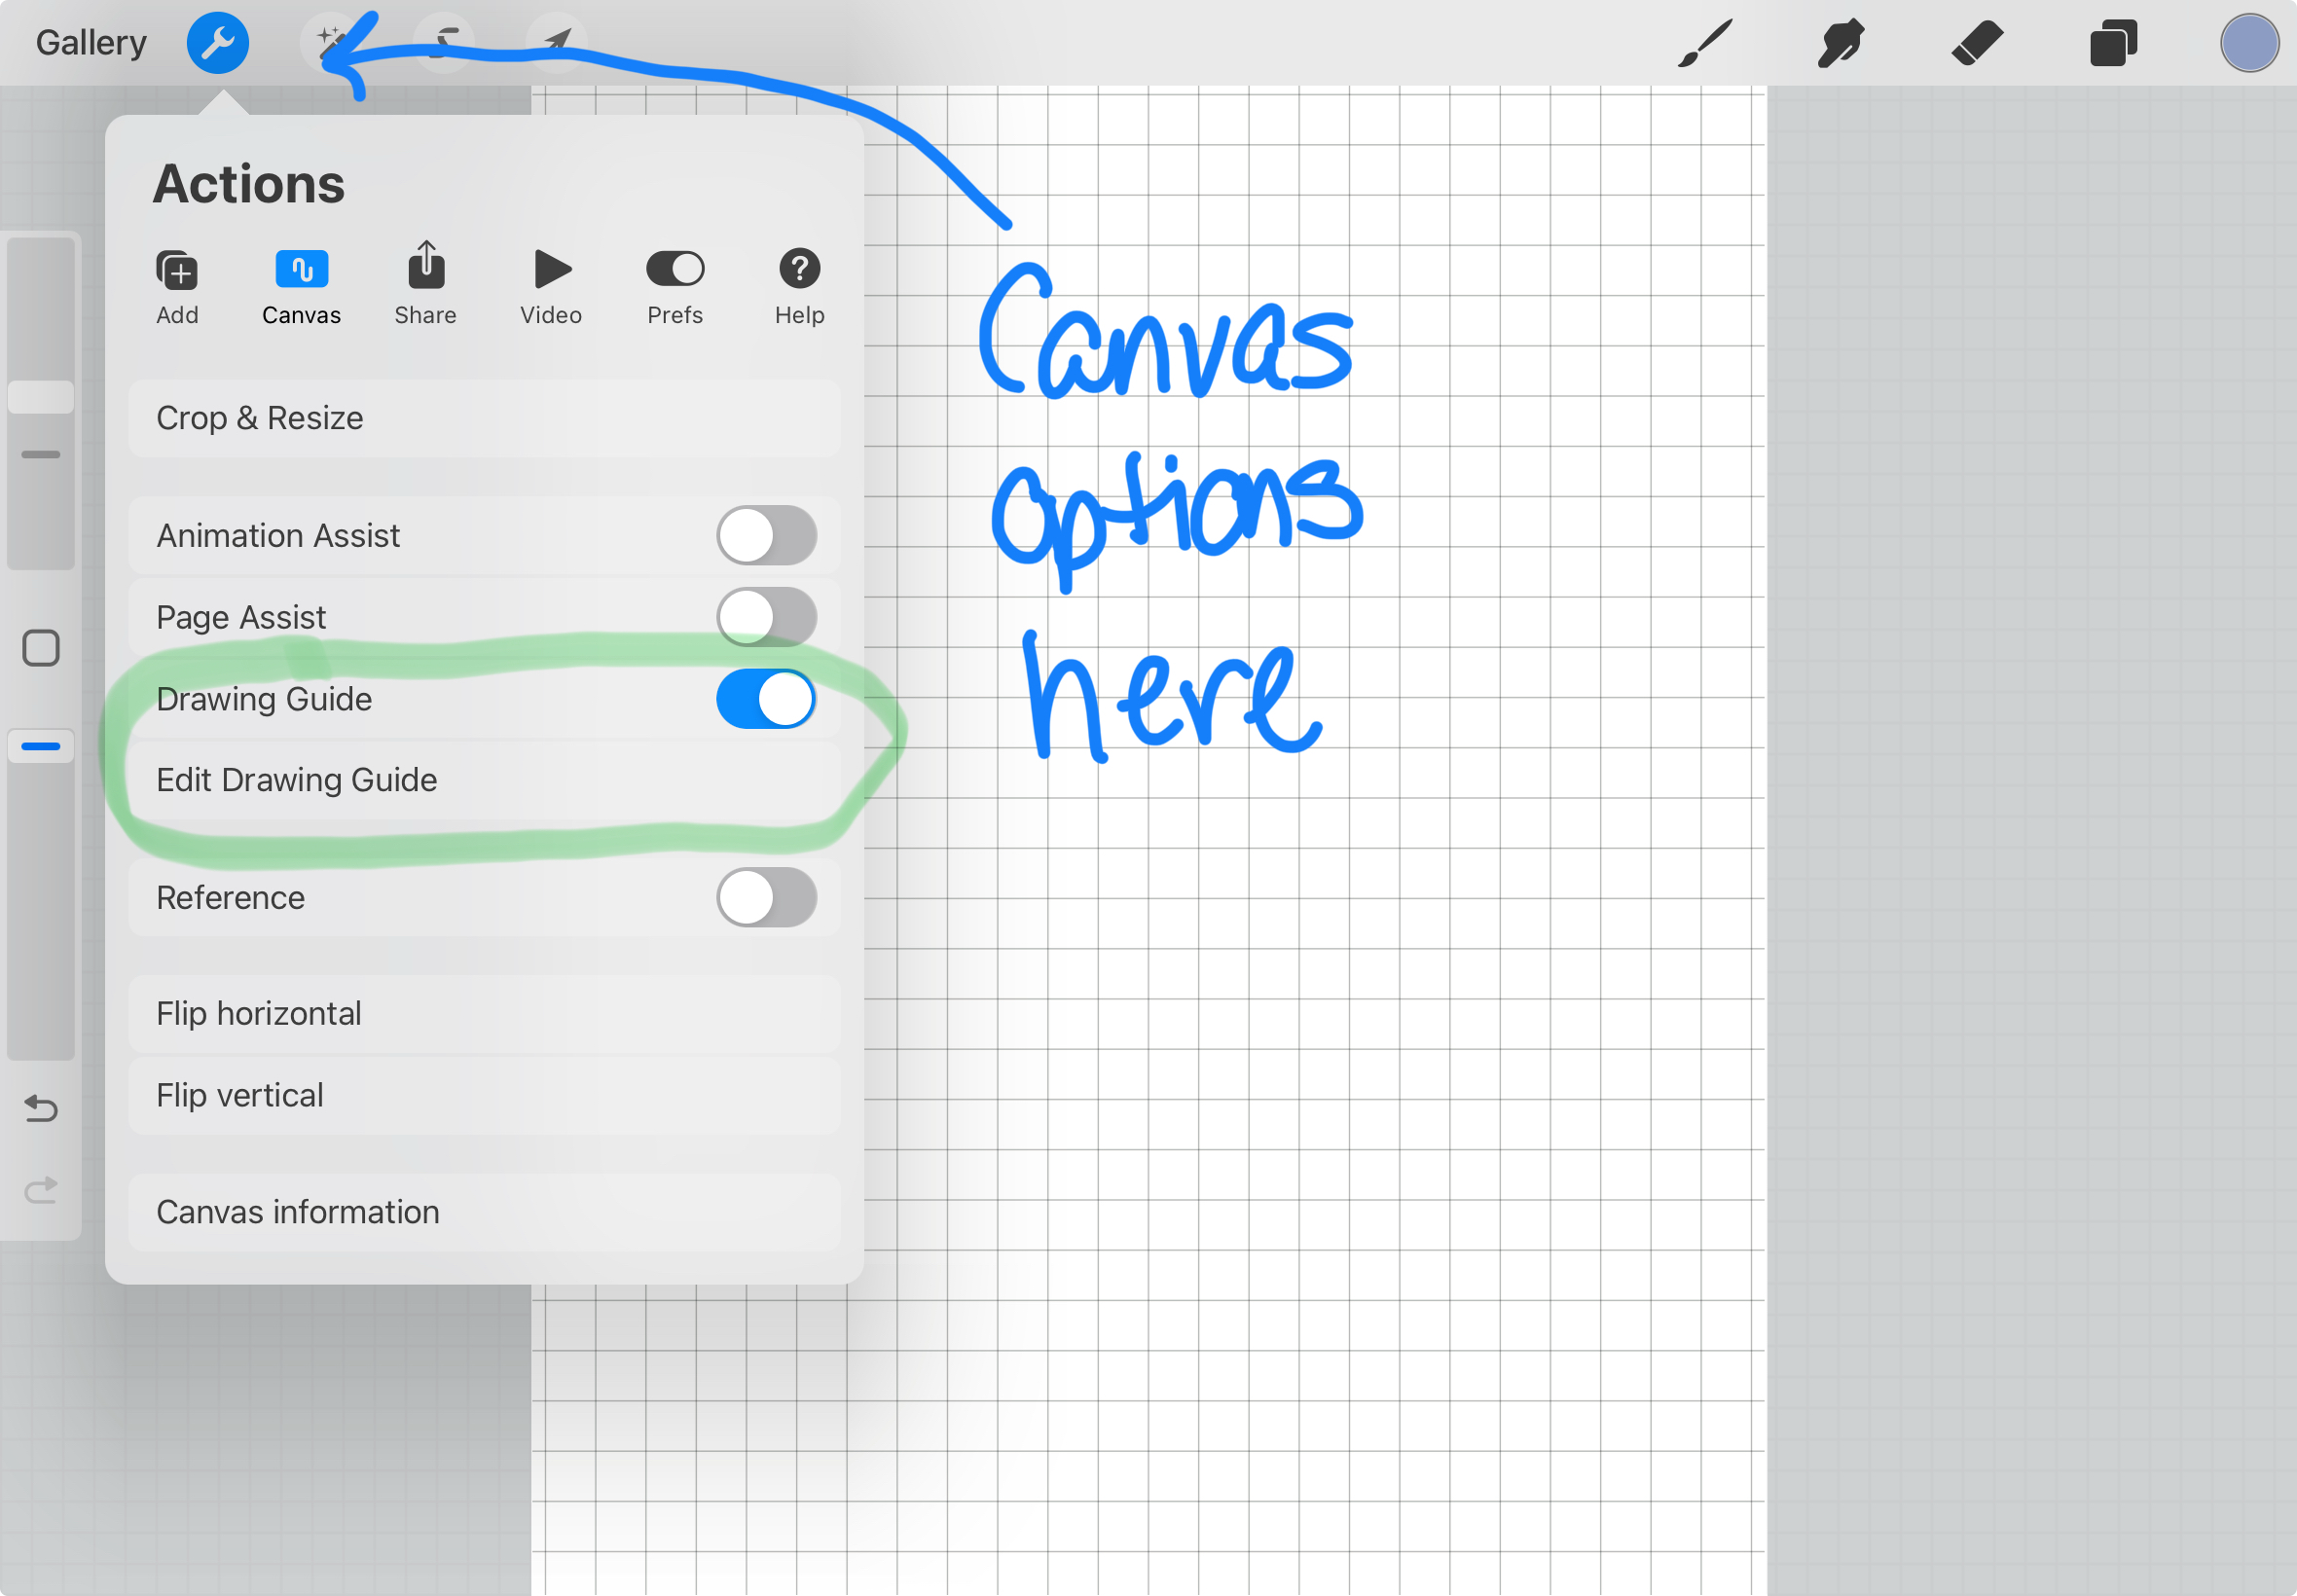
Optional: Add a border
Sometimes I like to frame my coloring pages to make it look more official by adding a border. I used the Marker brush that comes with Procreate in the Inking brushes set to make the borders. I usually will turn on the grid to make sure the lines are evenly spaced if I do a double border.
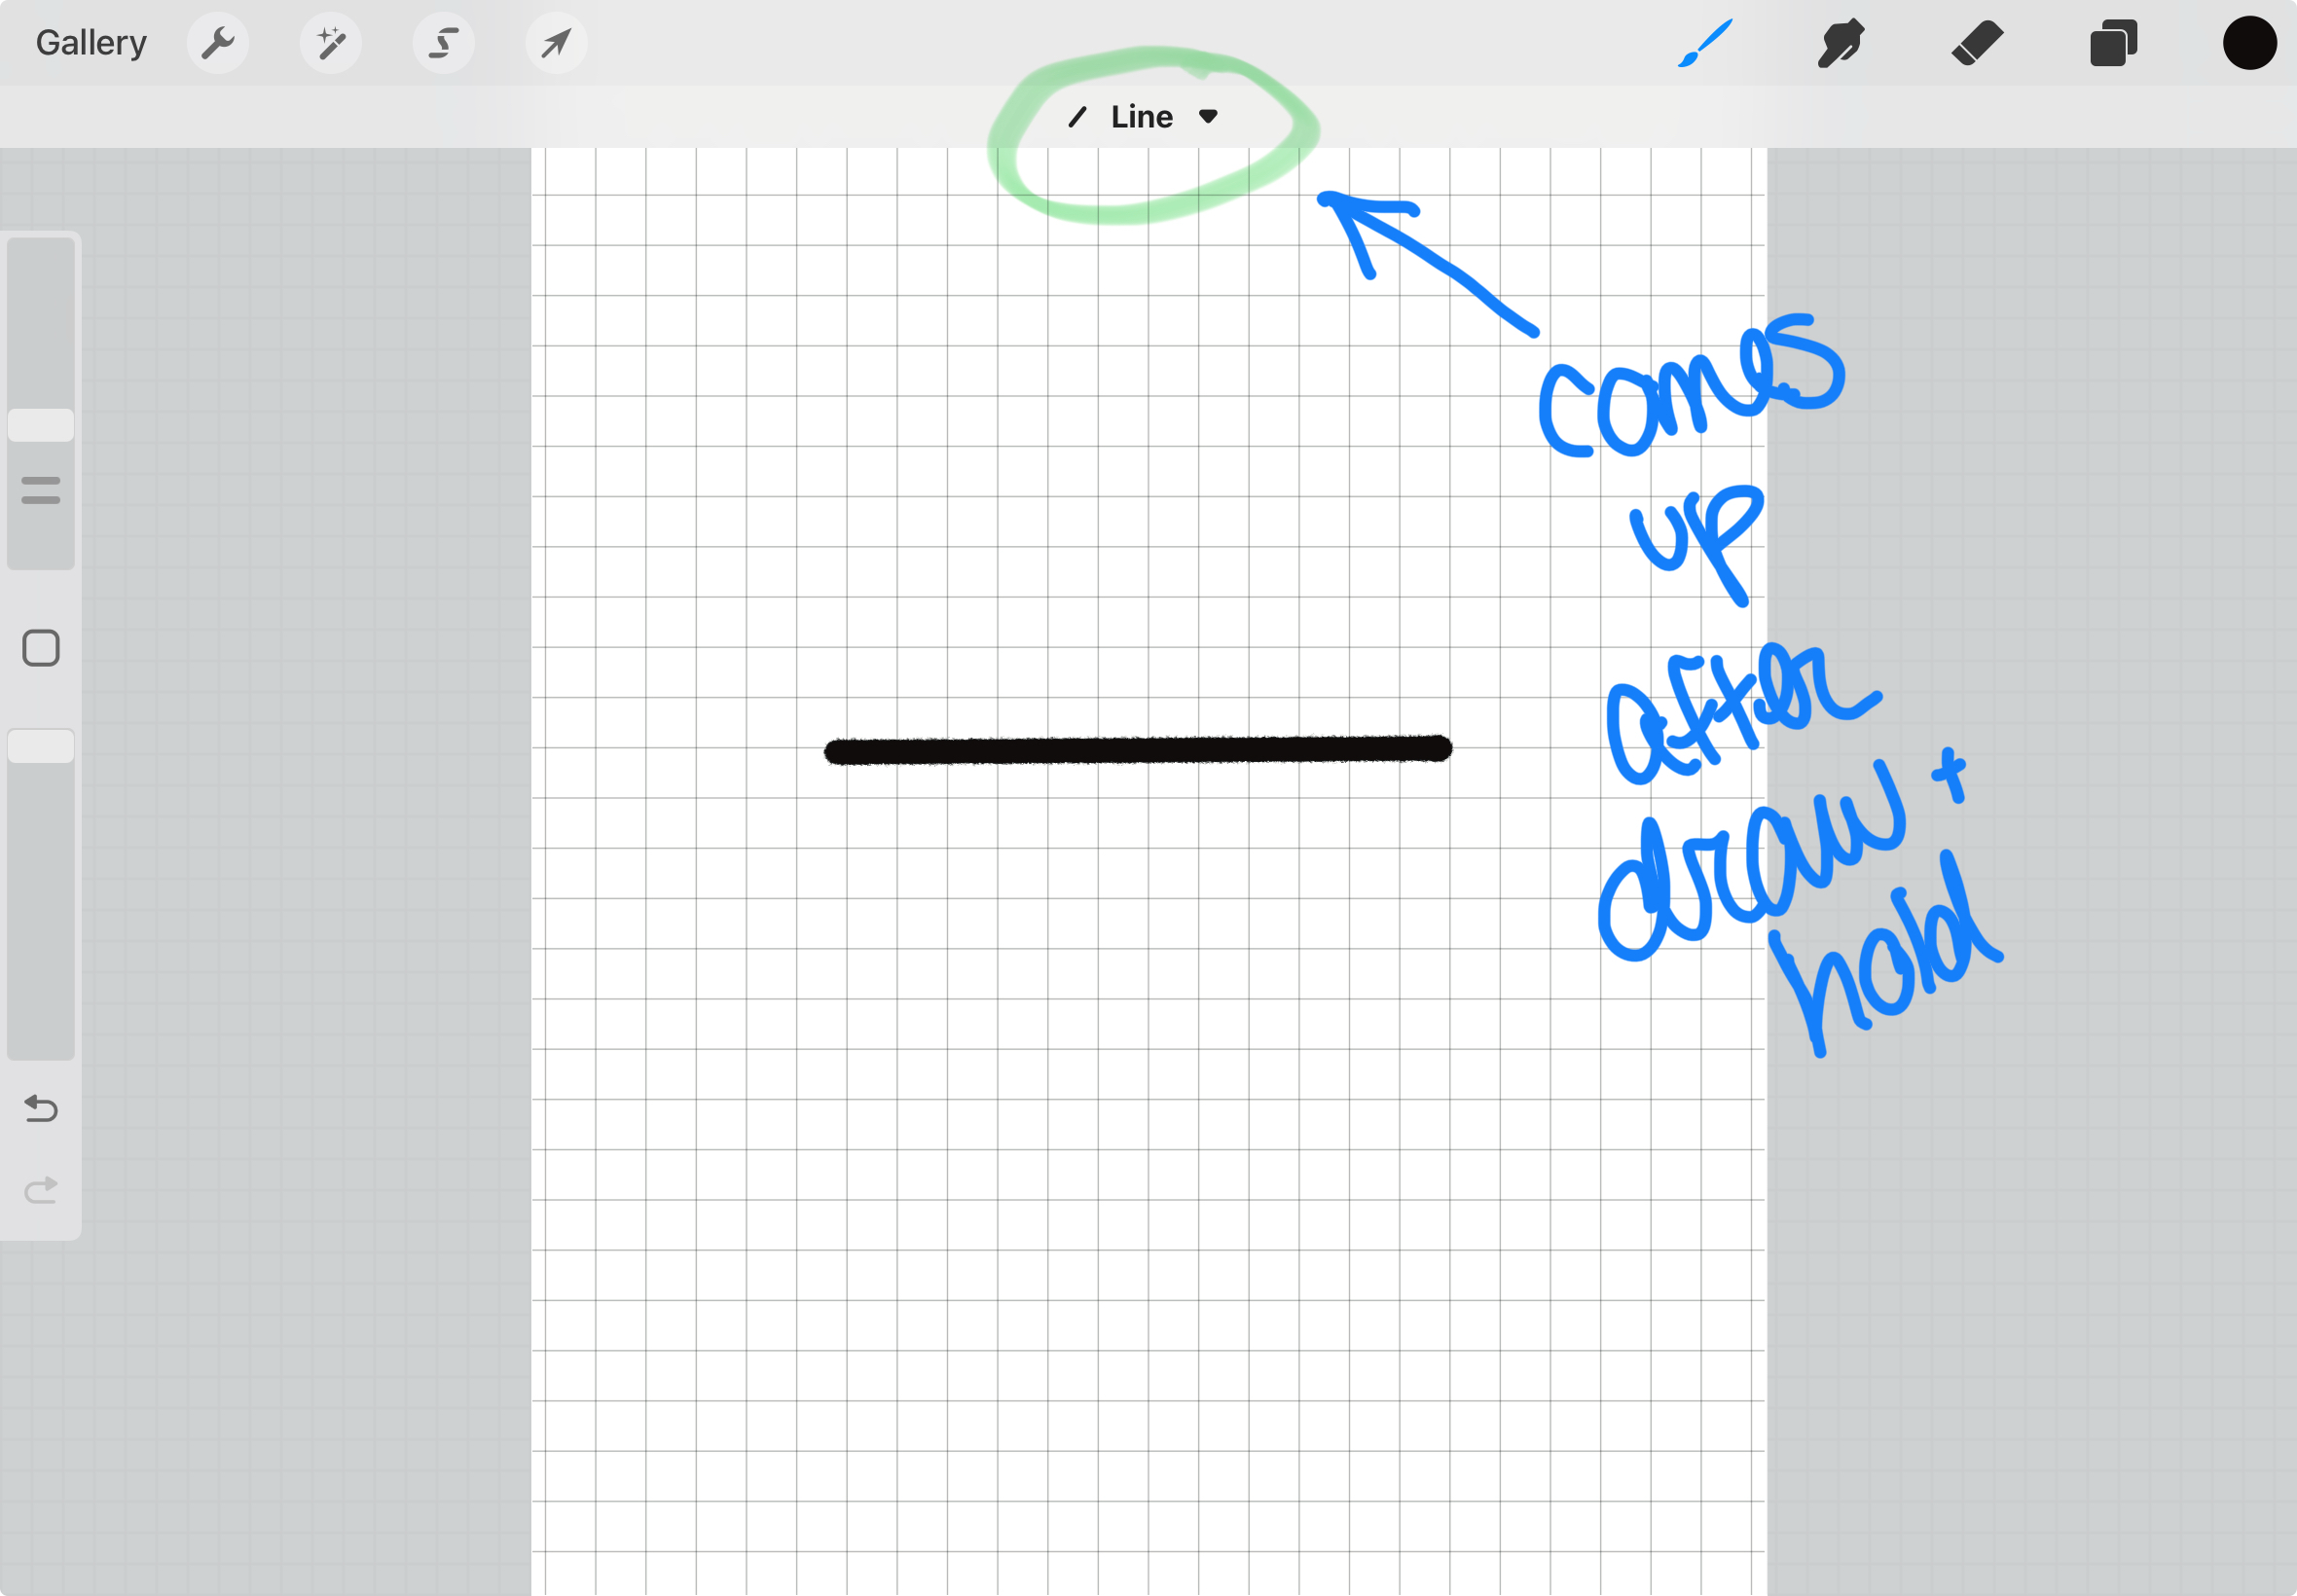
 To make a straight line in Procreate, just draw somewhat of a line shape then keep pressing on the screen until the shape tool will automatically convert your not so straight line into a straight line.
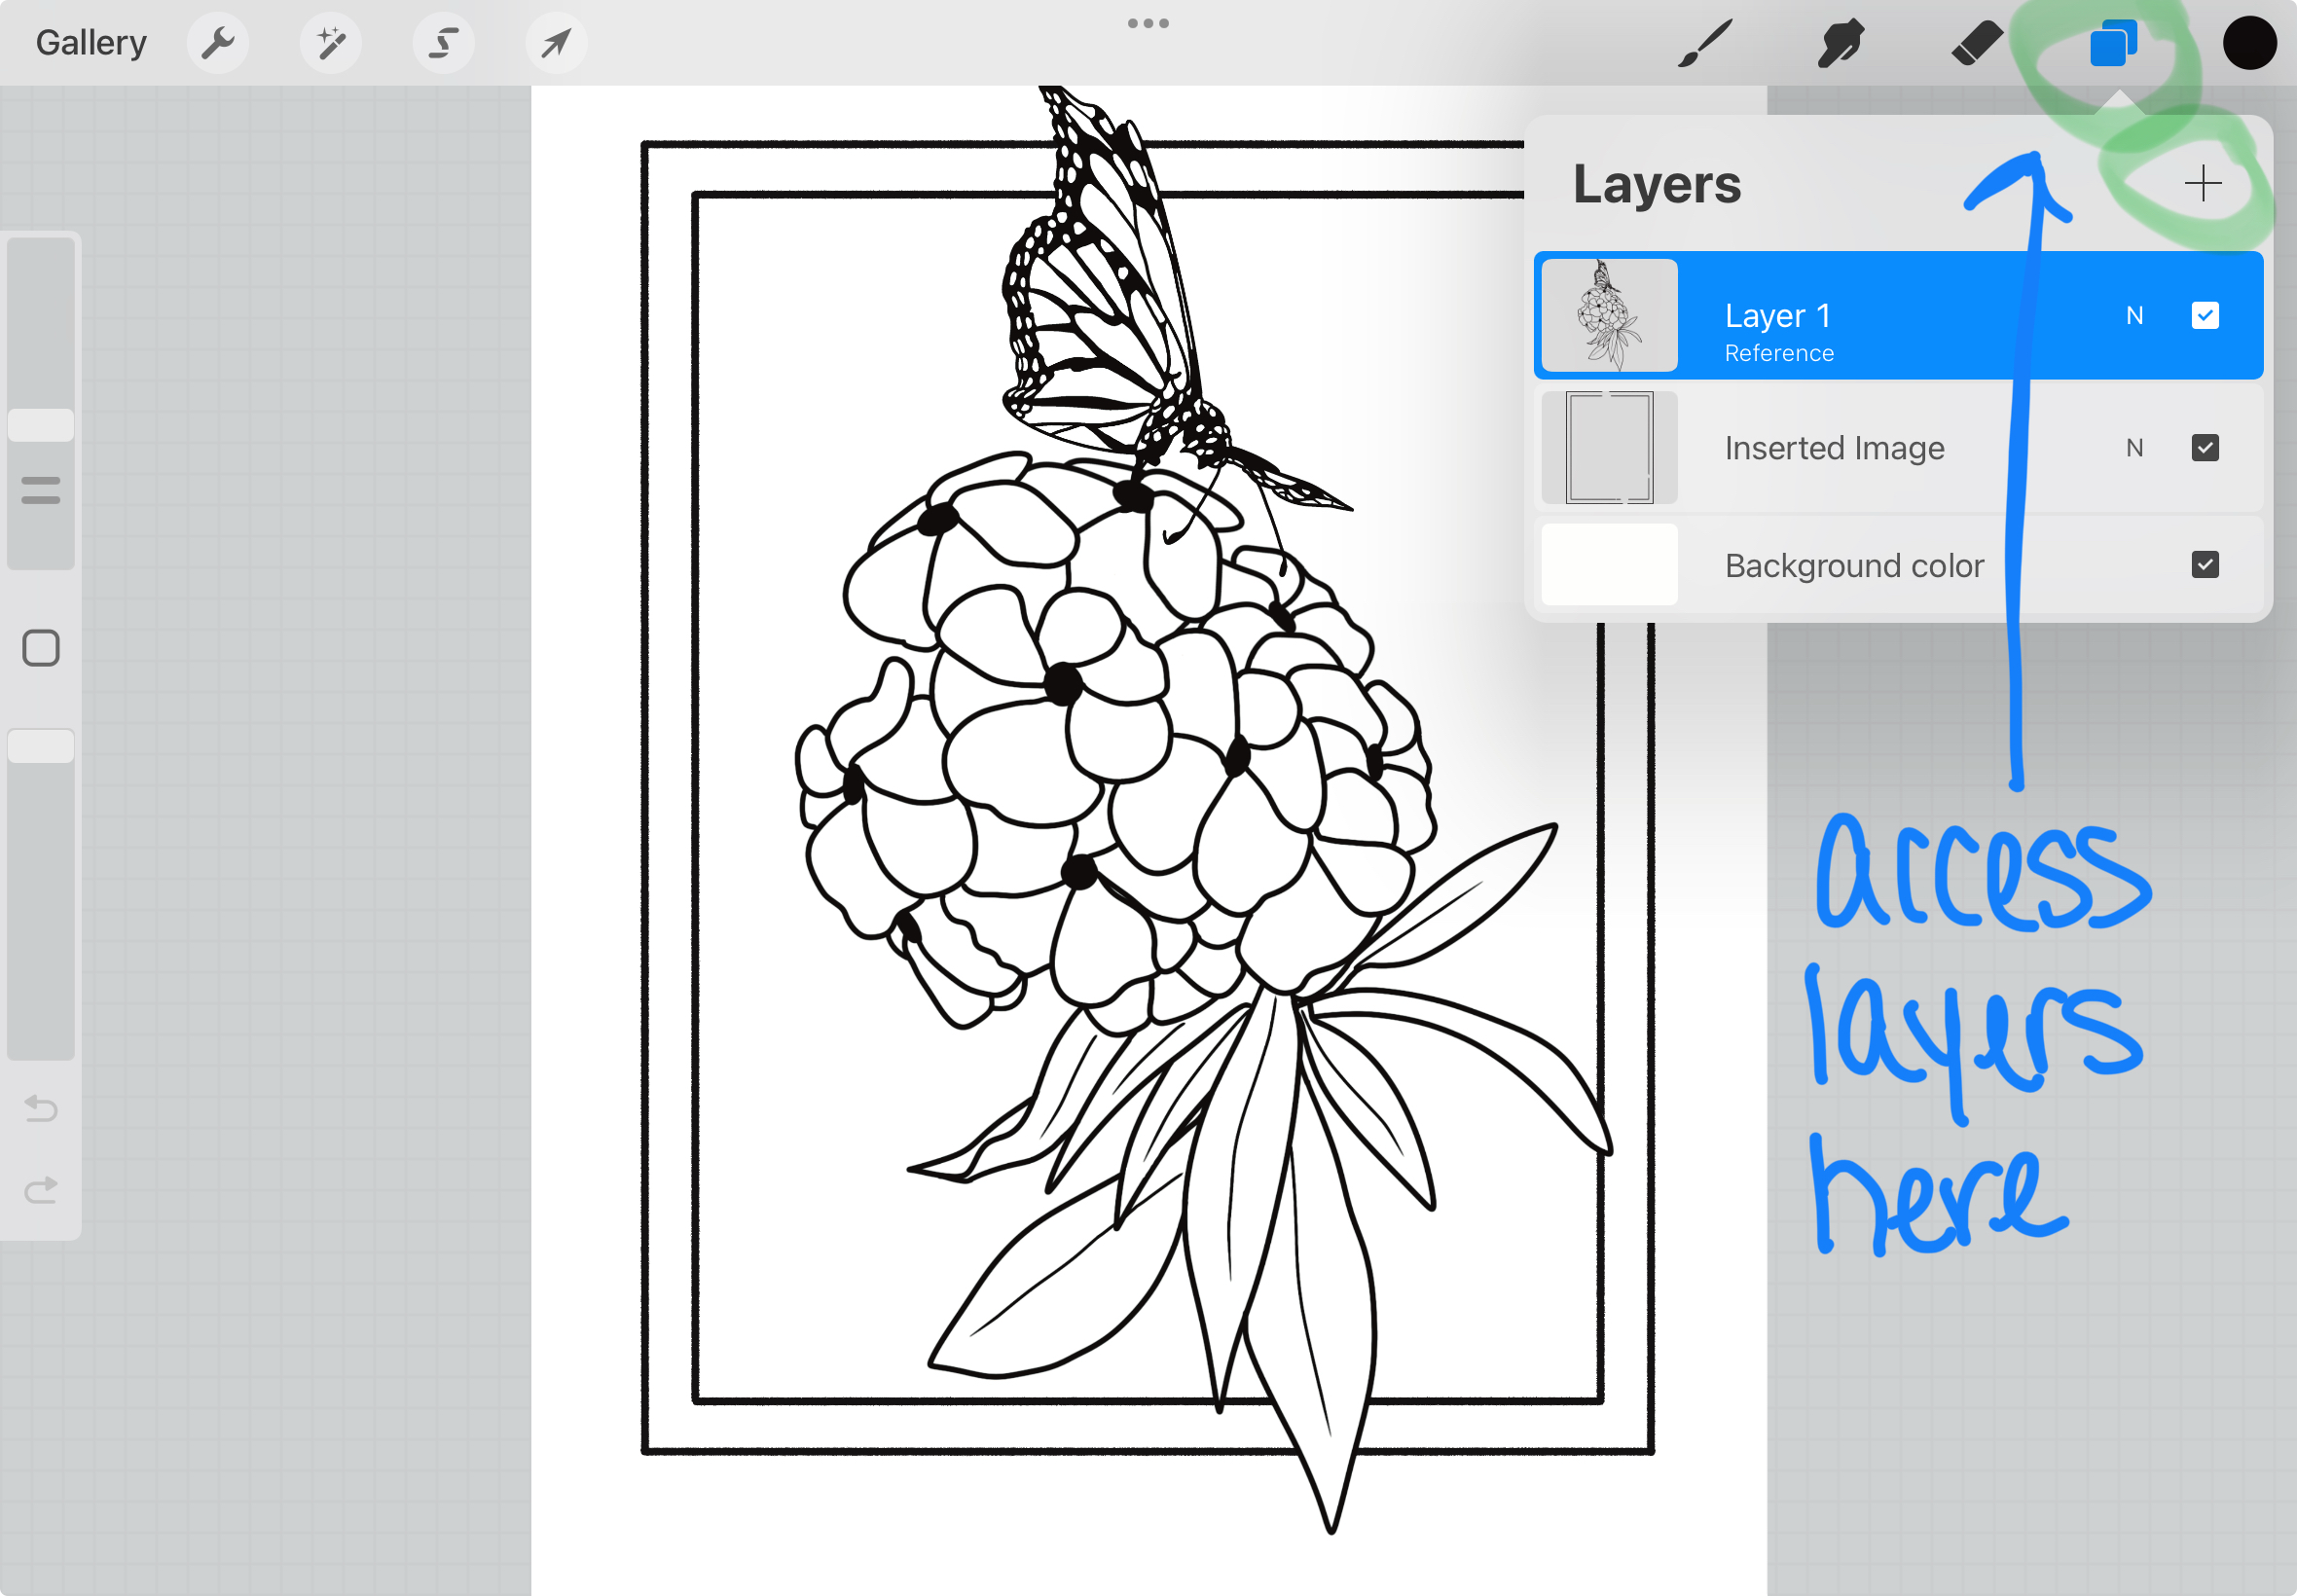
Pro Tip: Use Layers!
Place each stamp on a new layer. This makes it super easy to adjust, erase, or hide lines that should sit behind other objects. Layers are your best friend for creating a clean and professional-looking coloring page.
Once you’re happy with your design, you’re ready to color or print it out!
You now have two great options to enjoy your coloring page! Either color it digitally on your iPad or tablet. Or print it out and color it with your favorite markers, crayons, or pencils.
Coloring Your Page Digitally
To color digitally in Procreate:
● Select your favorite colors.
● Drag and drop a color onto a section of your design. Procreate will automatically fill the area.
● Hold your finger or apple pencil down after dragging to adjust the fill spread—this is perfect for getting clean edges.
Exporting and Printing Your Coloring Page
To print your page:
● Tap the Wrench Icon in the top left corner of the toolbar.
● Navigate to the Share tab.
● Select “Share as PDF.”
● Choose your desired quality setting (I recommend Best quality).
● Save the PDF to your device.
From there, you can print your coloring page and bring it to life with traditional coloring tools.
Creating your own coloring pages is a rewarding and relaxing way to spend your free time. Whether you color them digitally or with markers and pencils, the possibilities are endless. So, grab your favorite cup of tea, sit back, and enjoy the creative process.
💜 Happy coloring! 💜